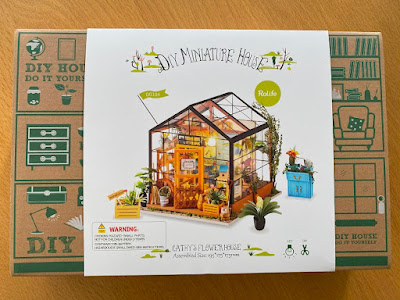
A few months ago I wrote about the latest craft project that my husband and I had embarked on - Cathy's Flower House miniature kit from Rolife. We worked really hard on it, and completed it just before Christmas. I thought I'd write a little review of the kit, just in case you've seen them out and about and wondered what it was like to put one together!
We bought our kit on Amazon and it's worth keeping an eye on prices as they do go up and down. Expect to pay around £40 - £45. Our kit is called Cathy's Flower House (affiliate link) and there are plenty of other kits to choose from. If you want to see an assembled miniature house in person then it might be worth a trip to your local garden centre, ours is a Haskins and currently has several on display including this one.
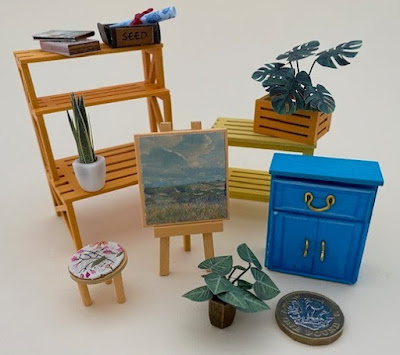
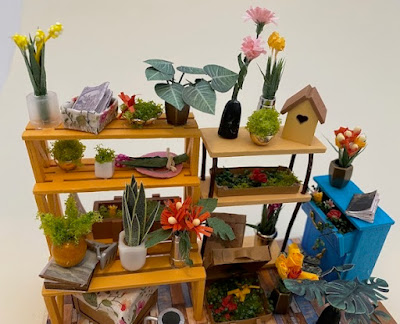
My favourite part of the whole kit is the blue drawer and cupboard piece. The gold coloured wire has to be bent into shape to form the handles. When complete it is filled with flowers and has plants trailing out of it. It's a shame that after all that effort it's tucked away in the back corner!
Some of the plants, like the ones in the photograph below, are made using printed leaves which pop out from a backing sheet and are glued into place on lengths of green wire. It's a bit fiddly, but they look really good when put together. You can see a pound coin in the photo which gives an idea of the scale.
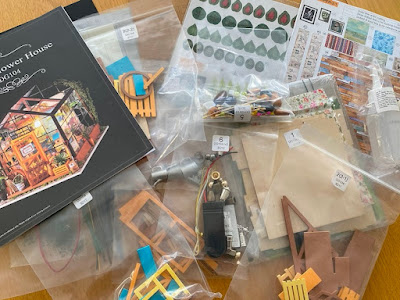
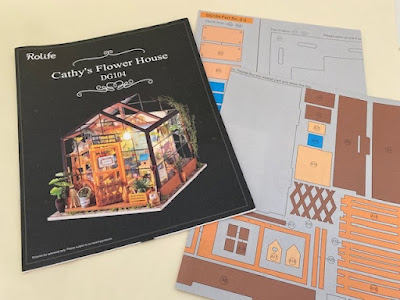
We didn't realise when choosing the set that the plants would be so difficult to make, and this kit has a lot of plants! There are lots of tiny pieces of paper, little bits that need to be rolled up, glued and stuck together, and sometimes the instructions were a bit vague with a few translation errors. But on the whole the instructions were very good and it wasn't too difficult to work out what we needed to do.
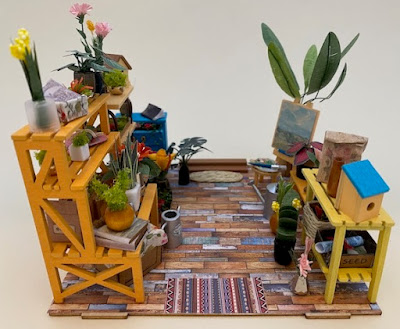
Once all the plants and other accessories have been built then you can position them on the shelves and glue them down, and there are clear diagrams showing where each part goes. Then the shelves are glued to the base piece.
The most difficult part of the build was fitting these plastic walls onto the base. I suspect we may have made a mistake somewhere along the line, because our tabs didn't line up correctly with the slots in the base. We had to use a small saw to make the holes larger so that we could fit the top part on properly. It worked out in the end but it was a bit awkward at times.
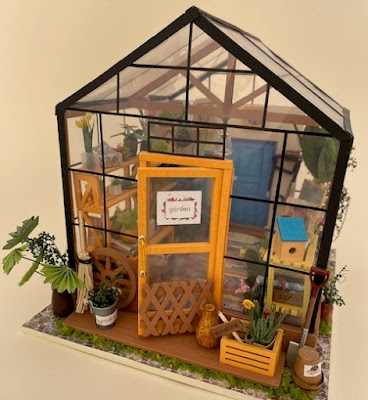
And here's the finished flower house!
The greenhouse is fitted with a small battery powered light which you need to wire up from scratch, although it's only a simple circuit. Wire cutters and strippers were really helpful here as the wire is very thin and fiddly to work with. You also need to use plastic tubes which are heat shrunk to the wires. This wasn't something that we had done before so we were a bit nervous, but we watched a few YouTube videos and managed to do it quite easily using a lighter.
Before starting the kit I read in an online review that it would take about twenty hours to put together. It's difficult to estimate how long we spent but I'm guessing that it took us at least that long - and that's with two of us working on it at the same time! But once you've got the hang of it I think that subsequent kits would be quicker, and all those plants did take a long time.






This is such a cute set, what a great project for you and your husband to do together. I love all the detail that it has, it looks like quite the challenge but so worth it. x
ReplyDelete